Call now


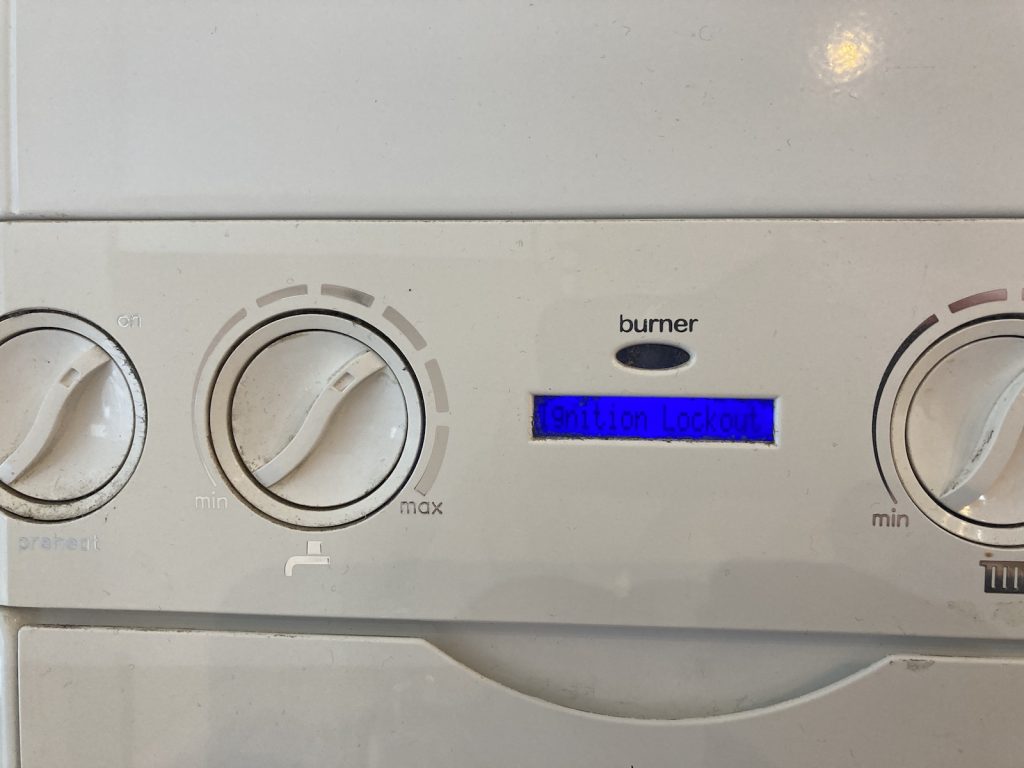
Ideal Logic intermittent ‘ignition lockout’ message, L2 boiler fault, error code
posted on 04 Oct 2021Ideal Logic combi boiler is one of the most popular combination boilers installed in the UK today. There are thousands of those boilers installed in homes in the UK. One of the most common errors on these boilers is:
Ignition Lockout / L2 error code – Ideal Logic / Ideal Independent / Ideal Classic
Depending on the version of this boiler, the same error can be displayed as ‘ignition lockout’ on Logics + and Logic Max versions or simply as an L2 error on Ideal Independent, Ideal Atlantic & Ideal Classic 2 boilers.
This error can be simply caused by the lack of gas, so before calling a boiler engineer out it is worth checking if other gas appliances are getting gas, if your prepaid meter is in credit or if the gas is on.
Most of the time this error can be simply re set by resetting the boiler. On Ideal Logics, you simply turn the far-right dial to the right and hold it there for a few seconds. This should clear the error and allow you to use the boiler, as those errors are usually intermittent. It will still need a competent boiler engineer to have a look at the boiler and find the underlaying cause of those intermittent faults.
In my experience, there are a number of causes for this fault. The most common faulty part is the ignition module also called spark generator.
If your Ideal boiler suffers from intermittent ‘ignition faults’ or L2 error codes, you can get in touch with me to get it repaired. Just click the link below to go to my website home page:
Ideal boilers servicing and repair
Below, you can read about a real life Ideal Logic repair. This particular boiler was installed in 2011 (It is 10 years old today) and it was suffering from intermittent ignition lock outs.
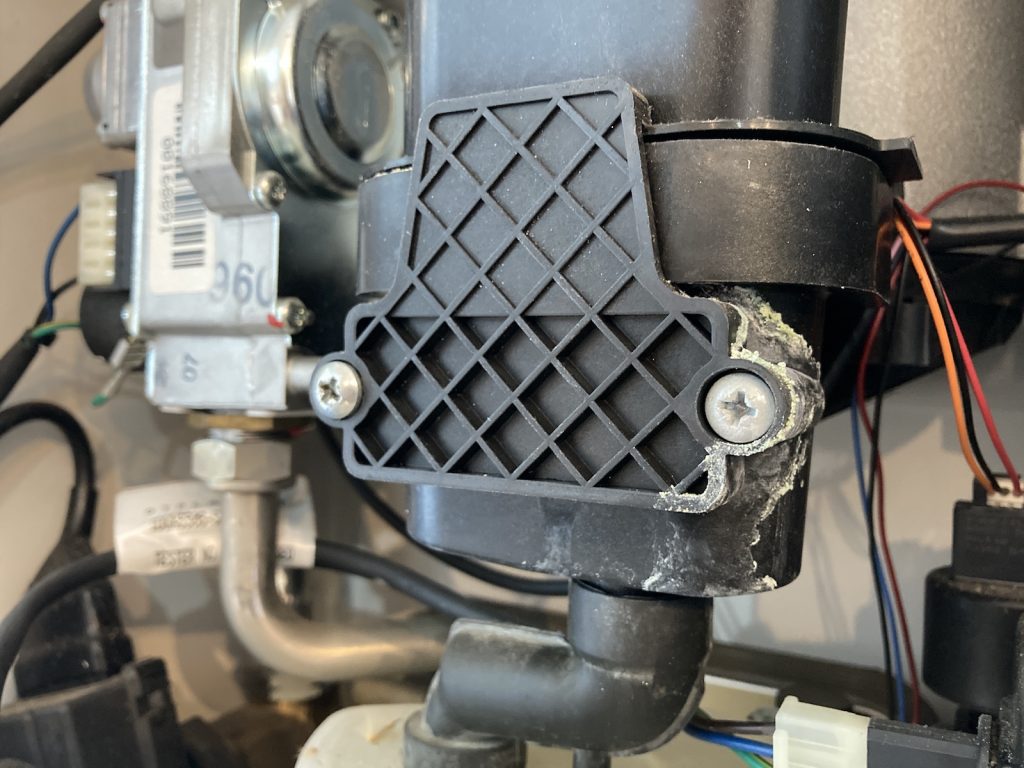
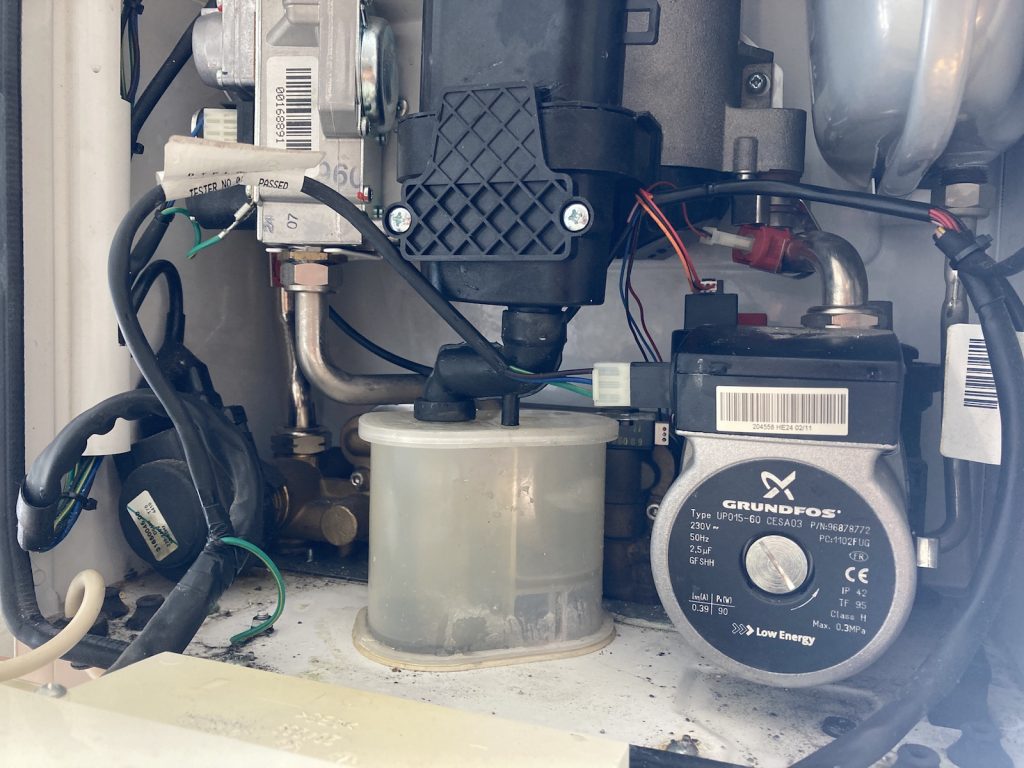
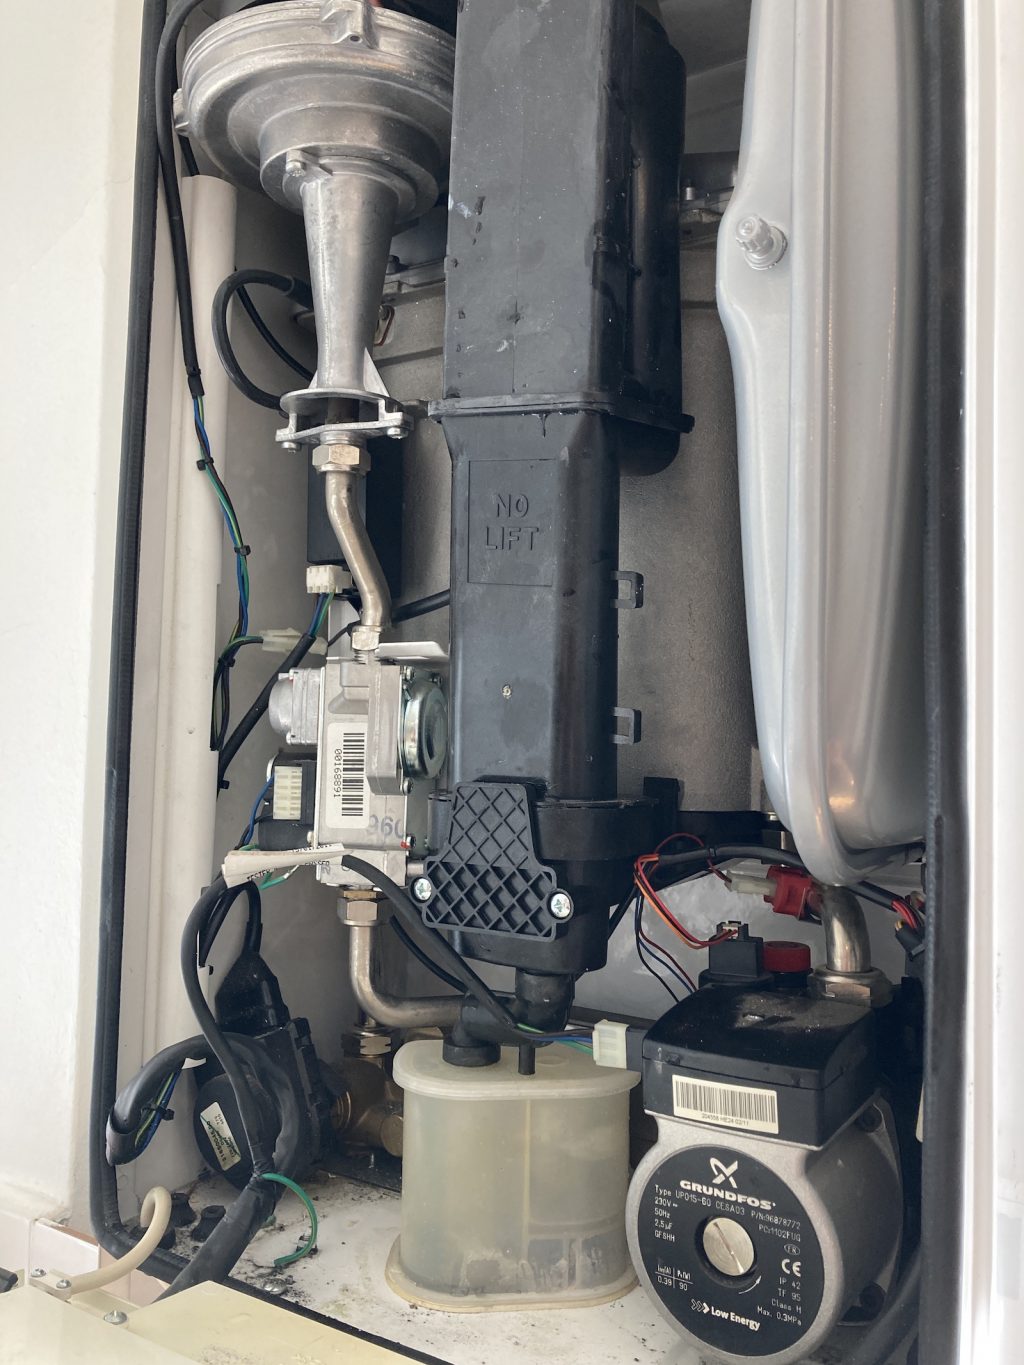
When I removed the front case I could see that there were two obvious problems with the boiler. These were most likely unrelated to the ignition lock outs, but had to be addressed first. The boiler sump was cracked and needed replacing. The tell-tale signs of a cracked sump is a white residue around the screw of the sump cover plate. Those sumps always crack in the same place. Ideal claims they crack due to excessive force when screwing the cover plate, but I have seen them cracked for no obvious reason on boilers that have never had the cover plate removed.
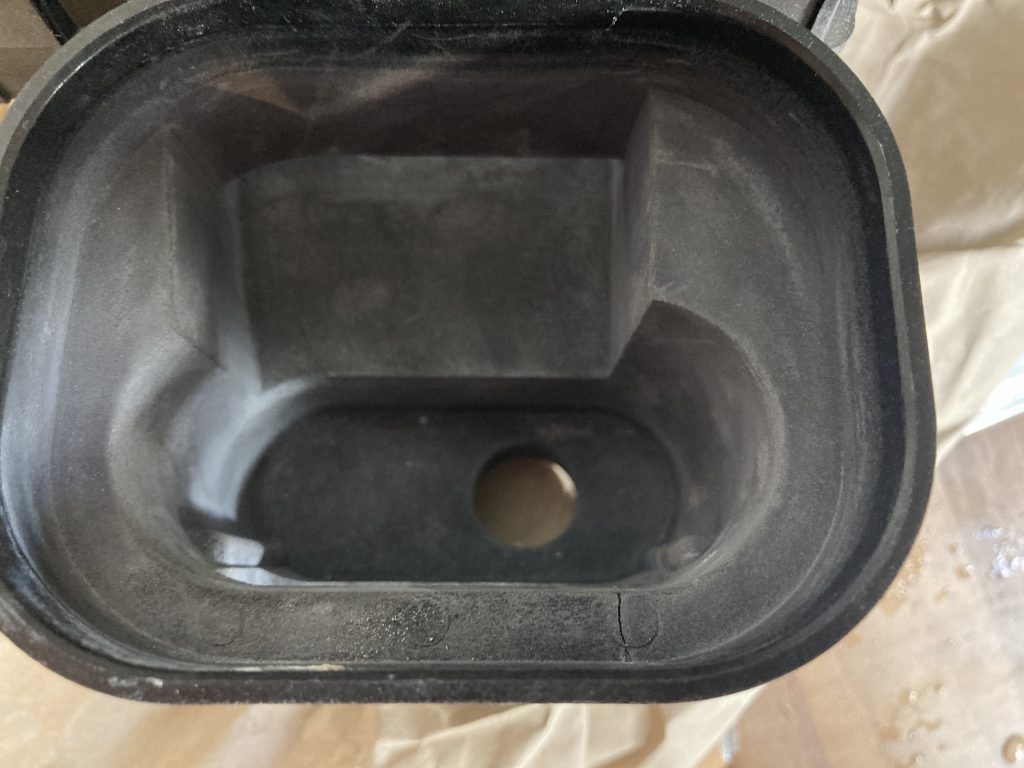
Here you can see a close up of the hairline crack on the sump inside. It is a very common problem with these boilers. The crack is on the bottom right hand side.
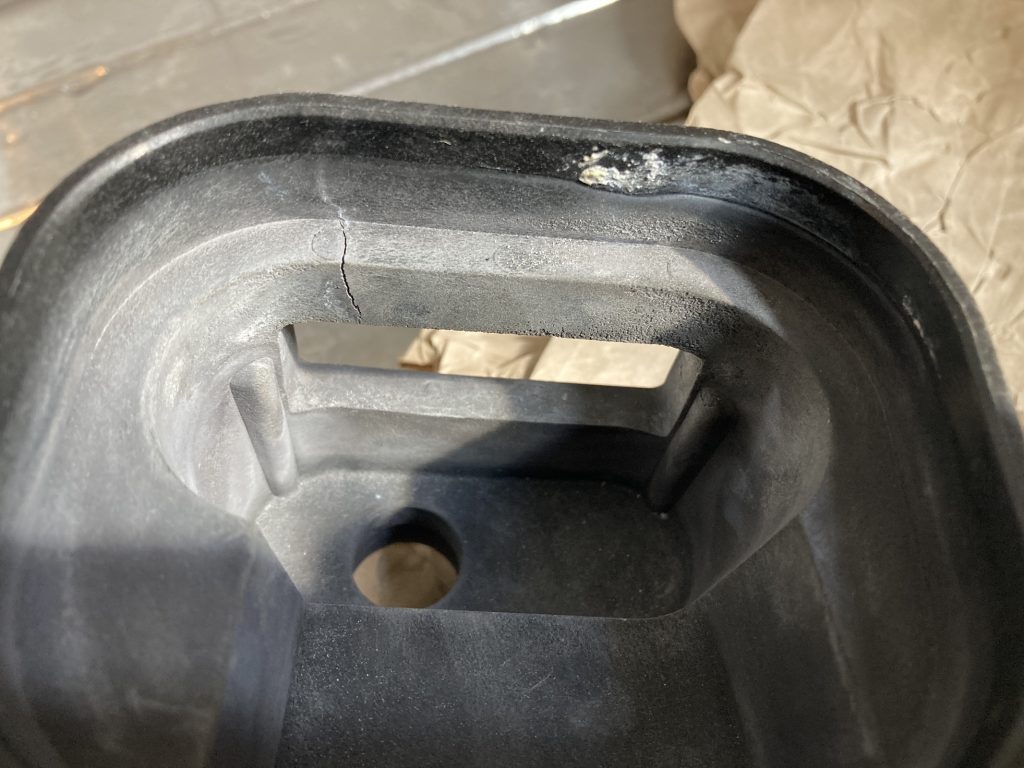
It is more obvious on the second picture. This was taken after I removed the sump. Now the hairline crack is visible on the top left.
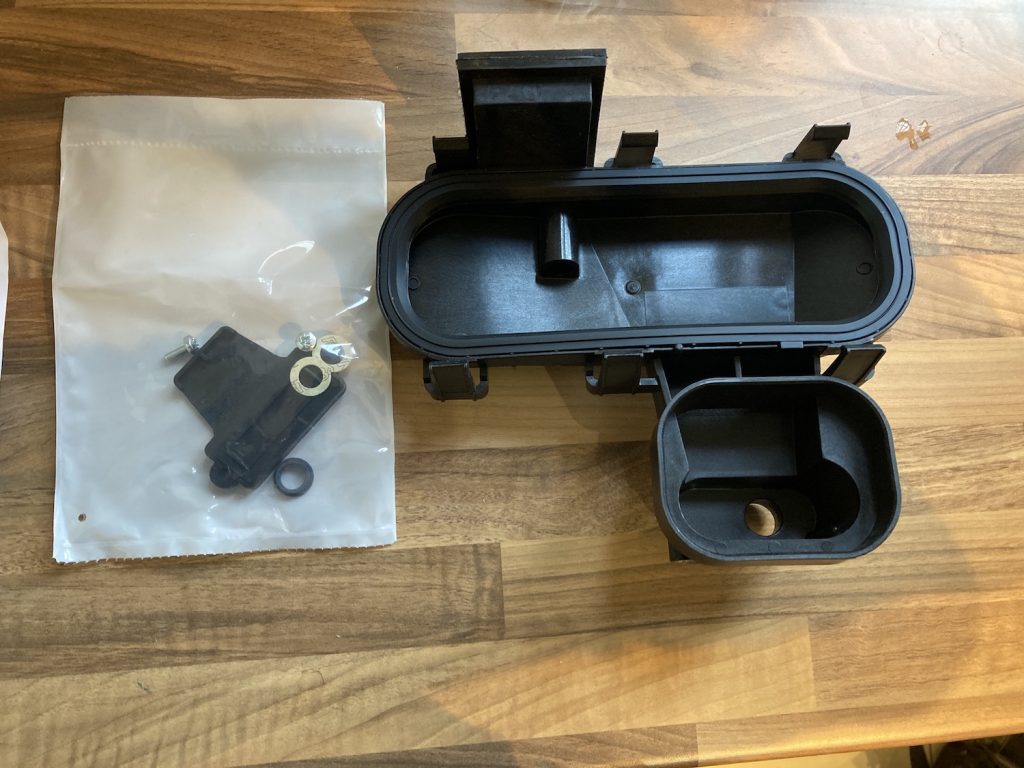
Now it was time to fit a new sump. New sump and sump cover picture below.
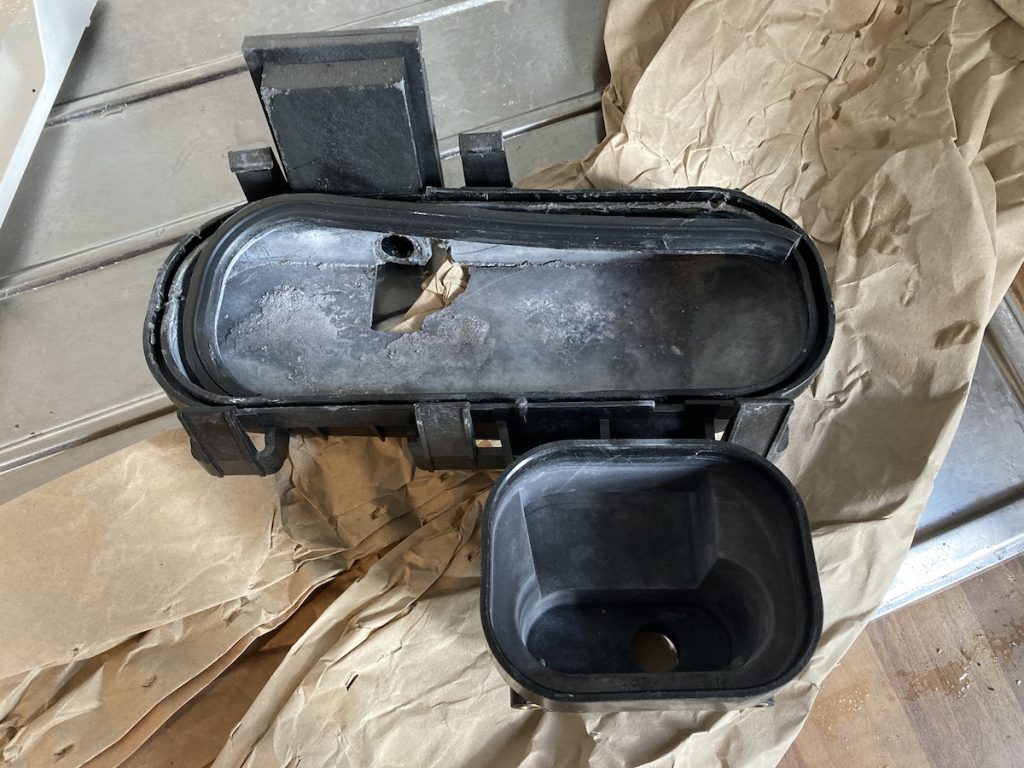
This is the old sump. Removing the sump without having to take out the main heat exchanger is possible, but not the easiest of jobs. You have to break the old sump a bit to get it out.
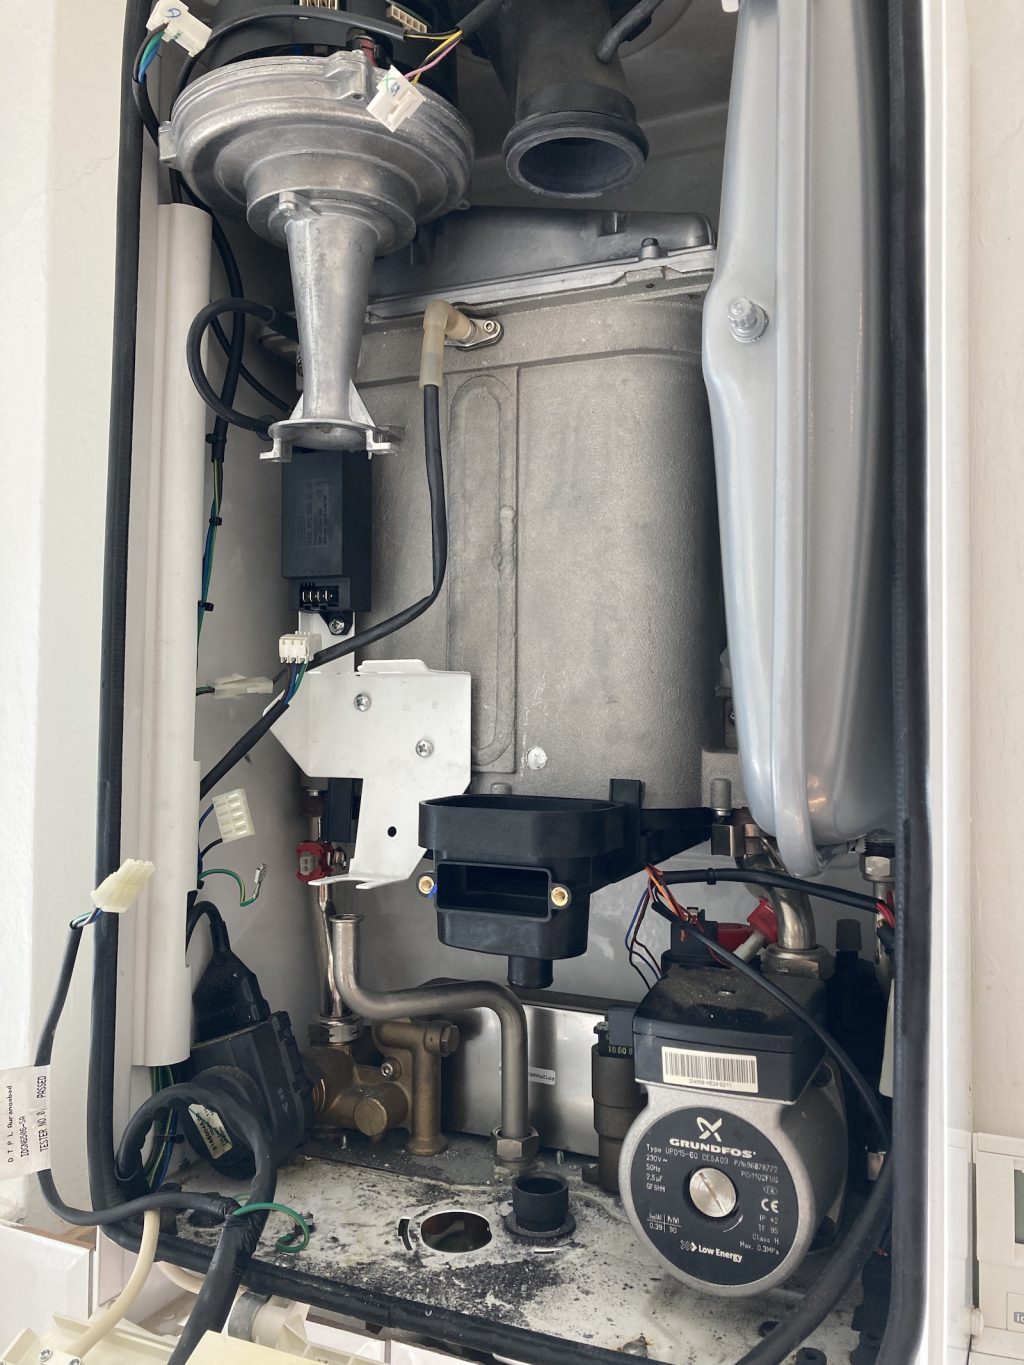
New sump fitted to the boiler.
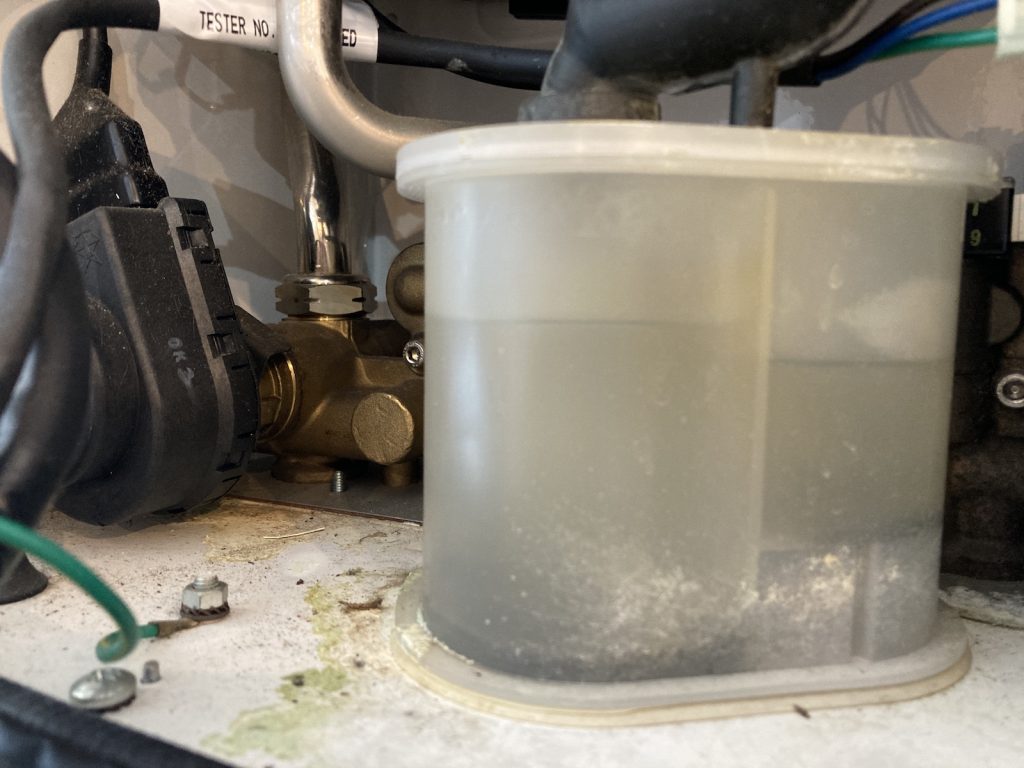
Now it was time to address the second obvious problem with this boiler. It has a completely blocked condensate trap. This could have caused intermittent ignition lock outs on its own.
Luckily it is quite simple to clear those traps out. Blocked trap on a picture below.
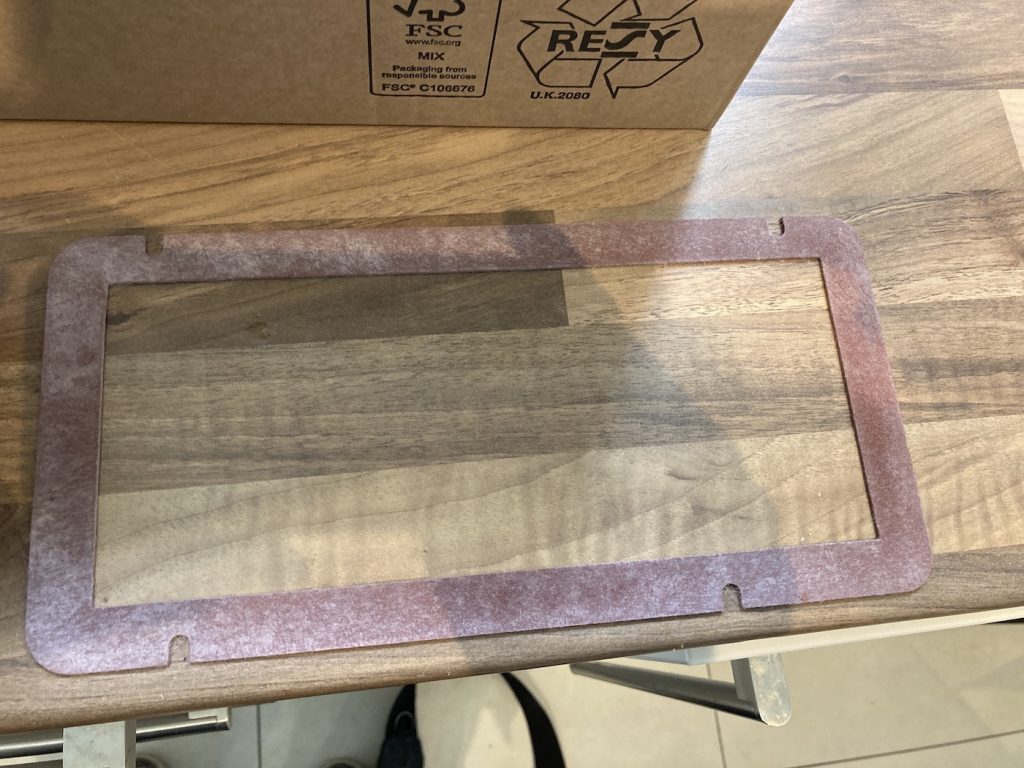
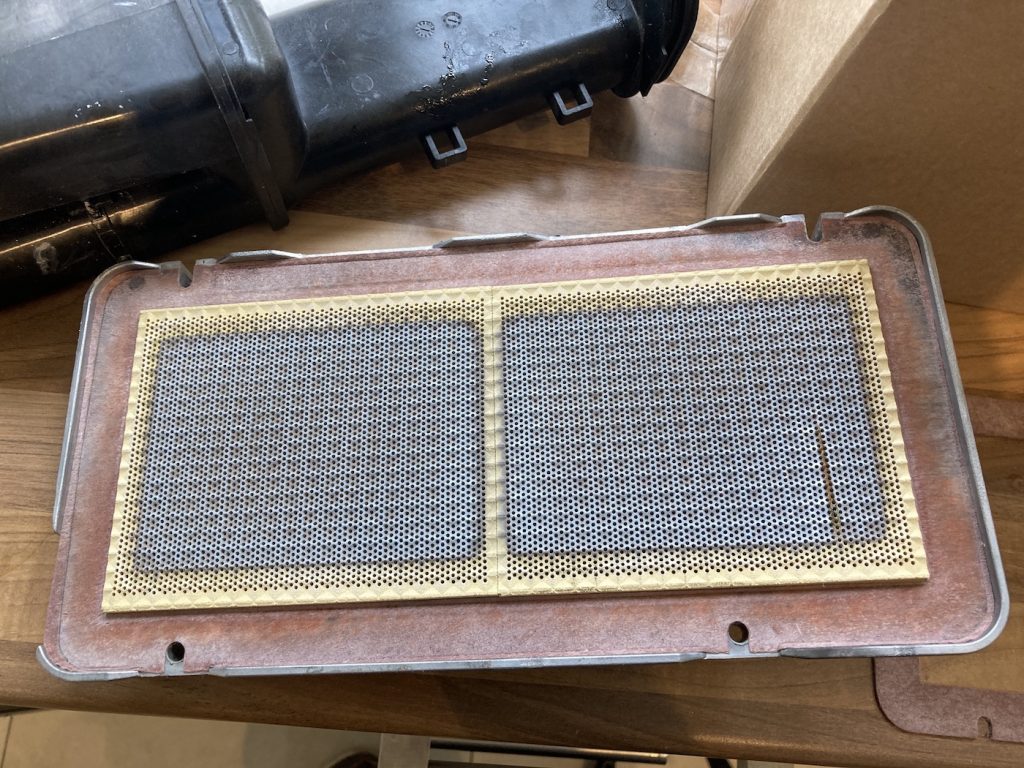
After cleaning the trap, I replaced the ignition module, as they can be intermittently faulty. I also removed the burner and replaced the main heat exchanger gasket, as the old one was worn. The ignition and sensing electrodes still looked fine, so I left those in place.
I also cleaned fan injector and venturi, as if those are not spotless they can throw some ignition problems as well. I reassembled the boiler.
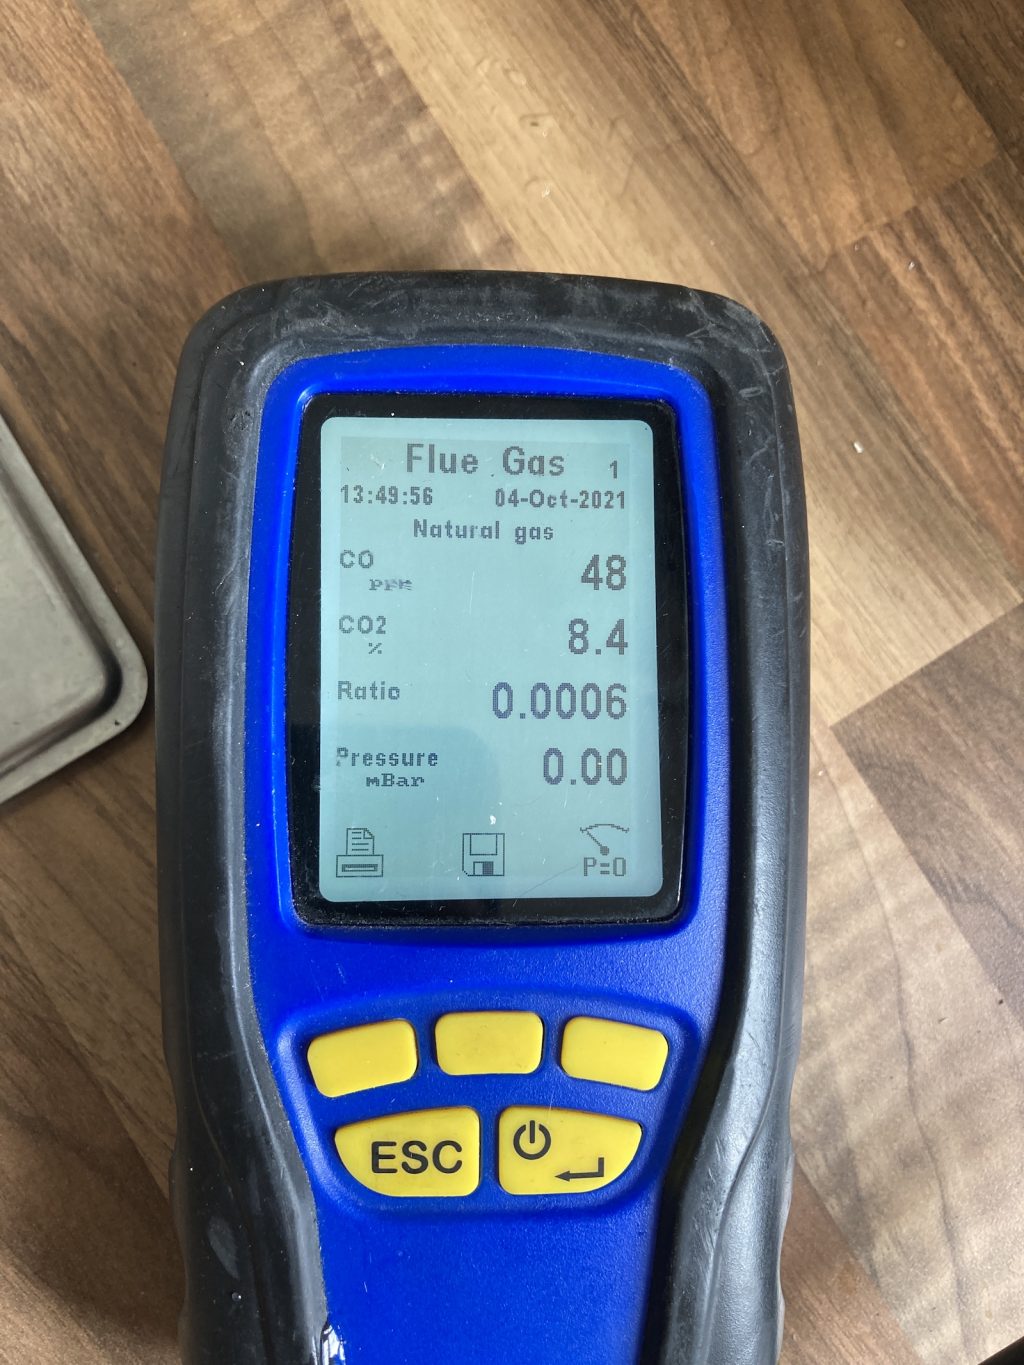
It was time to test it. I run combustion analysis on low and high rate. The boiler seems to operate fine. However, I will have to wait for feedback from tenants to see if the intermittent lock out does not happen again, as unfortunately it is one of those faults that is very difficult to test for.
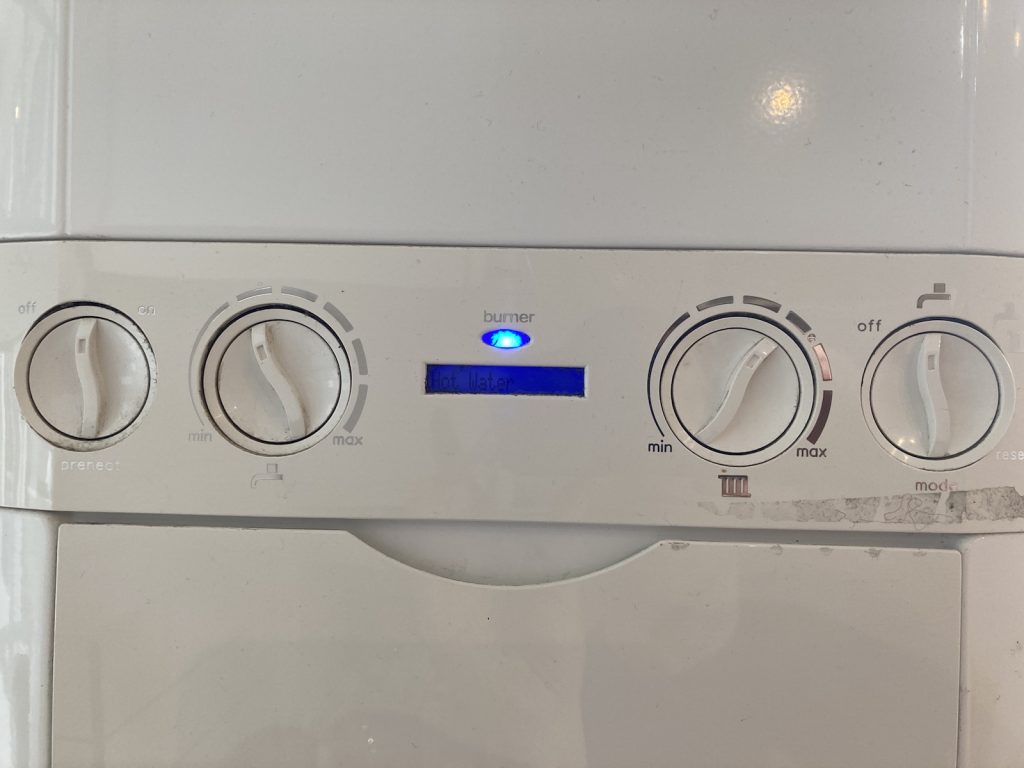
Below you can see the boiler happily firing, no more leaks on a sump, no ignition lock outs or errors when tested on site. If you need your Ideal boiler serviced or repaired please contact me through this website.


